Managing conda virtual environments and installing extra packages
You may want to install additional python packages which are not bundled with the standard IPKISS installation. This may for instance be the case if you do a lot of data processing (e.g. pandas) or want to run automated regression tests (e.g. pytest).
Most mainstream packages such as pandas and pytest are compatible with IPKISS, but sometimes you may need to install packages of which you’re unsure if they risk breaking IPKISS. For this reason, we advise to create a separate virtual environment (virtualenv or venv in short). IPKISS is based on the conda (www.anaconda.org) virtual environment and package manager, which allows to easily create your own virtual environments (conda environments) with their own set of packages. This enables shielding of your test and development environments from your main IPKISS environment.
In fact, IPKISS runs in its own virtual environment. The main ipkiss environment is named ipkiss3. You can see this when running the IPKISS Terminal from the Luceda Control Center:
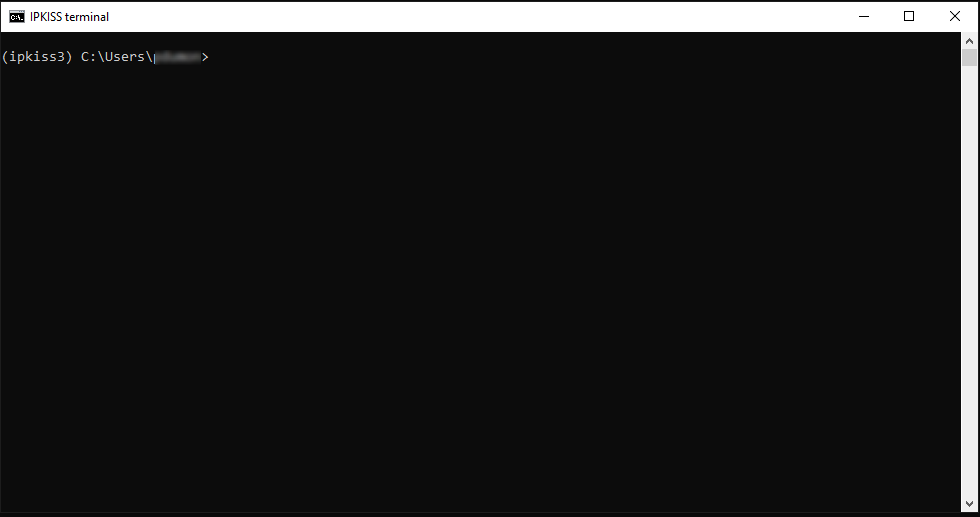
IPKISS Terminal just after starting, showing the current virtual environment ipkiss3.
You can list the available environments by running the following conda command in the IPKISS terminal:
conda info --envs
A more complete reference can be found on the conda documentation webpage.
If this is the first time you installed IPKISS or Anaconda on your computer,
this only prints the ipkiss3 environment
(where [VERSION] is replaced by the ipkiss version number and C:\luceda by the actual installation location on your disk).
ipkiss3 * C:\luceda\luceda_[VERSION]\python\envs\ipkiss3
Creating a development environment
Step 1: clone
We advise to create a new ipkiss conda environment by cloning (copying) the default ipkiss3 environment.
This can be done with the conda create command from the IPKISS terminal, supplying a name for the new virtual environment (e.g. datascience in the example below) and
the name of the environment to clone (ipkiss3):
conda create -n datascience --clone ipkiss3
When successful, conda info --envs now lists your newly created environment. If you have a valid license file installed in your IPKISS installation, it will automatically be copied to the new virtualenv as well.
Step 2: activate environment
After cloning the ipkiss3 environment, you need to activate your newly created environment in order to work with it:
conda activate datascience
This makes sure that the correct python will be run and the correct set of packages will be used. Each time you want to work with this environment, just run activate <environment name> as above.
When using a Python Integrated Development Environment (IDE) such as PyCharm, you will need to configure the correct interpreter (python.exe inside your new conda environment) as well. This is explained in detail here in the Python IDE tutorial.
Step 3: test
Quickly test your new IPKISS environment by running import ipkiss3.all as i3 with Python:
python -c "import ipkiss3.all as i3"
This should print that you have a valid license.
Installing extra packages
Now you can install extra packages in the new virtual environment. As mentioned earlier, this will not disturb the original ipkiss3 environment. As an example, we can install pandas (https://pandas.pydata.org), a package popular in data science, with the following command:
conda install pandas
While running the installation, you may get a few warnings which you can ignore, and you will need to confirm the installation by entering ‘y’.