Getting started on Linux
Running IPKISS on Linux is supported using Anaconda. Anaconda is a Python distribution that targets scientific users. It makes working with binary packages much easier and allows to have different independent environments next to one another. It is developed and maintained by Continuum Analytics. For more information visit their website: http://continuum.io/.
This document explains how to complete a basic anaconda installation and how to install IPKISS on it.
Installing miniconda on Linux
Miniconda is a minimal version of the Anaconda distribution, but it contains all the elements to install and run IPKISS. If you have already installed anaconda or miniconda you can skip this part and reuse your existing installation.
1 ) Download the 64 bit version of the miniconda installer, by executing the following command:
wget -O miniconda.sh https://repo.anaconda.com/miniconda/Miniconda3-py38_23.3.1-0-Linux-x86_64.sh
Or you can choose to download the installer by copy/pasting the link in your browser.
2 ) Execute the miniconda installer
The miniconda installer is a simple bash script, execute it using the following command:
bash ./miniconda.sh
We assume you have sufficient privileges to complete the installation. If this is not the case, you’ll need to contact your system administrator.
The install script will present you the following questions:
Do you accept the license agreement?
Which path do you want to install into? The default is
$HOME/miniconda3. If you prefer, you can specify another location here.Do you wish to prepend the Miniconda install location to the PATH environmental variable?
Question 3 will make sure that you have access to all the necessary tools when you launch a terminal. If you don’t have another anaconda distribution installed, we recommend that you execute this step. When you’re already using Python on your machine, you might want to be bit more cautious, to make sure that you don’t override the old configuration.
When the install script successfully finished, you can continue with installing IPKISS.
Installing IPKISS packages
The Anaconda distribution is built around ‘environments’. When you create a new environment, you can install packages into this environment without changing other environments. This way a new version of a package can exist next to an old version. In this section we explain how to install Ipkiss and its dependencies to a dedicated environment.
First ensure that you are using an anaconda or miniconda installation. If you installed miniconda according to the instructions above, and are still in the same terminal window, then first load anaconda:
source ~/.bashrc
If you now run which python, then you should get ~/miniconda3/bin/python or similar.
Then, download the .zip package we sent you upon software deliver. Now we can start the installation of IPKISS by executing the following command:
cd ~/Downloads # We assume you downloaded the packages here.
python ipkiss-xyz-packages-linux64.zip
When the command exits you should have a working IPKISS installation. You can activate it by running the following command:
conda activate ipkiss3
If you get the following error message:
CommandNotFoundError: Your shell has not been properly configured to use 'conda activate'.
To initialize your shell, run

    $ conda init <SHELL_NAME>
Execute first conda init bash (assuming you’re using the bash shell), restart your shell and execute conda activate ipkiss3 again.
You can now start the Luceda Control Center by running the following command in the activated ipkiss3 environment:
ipkontrol
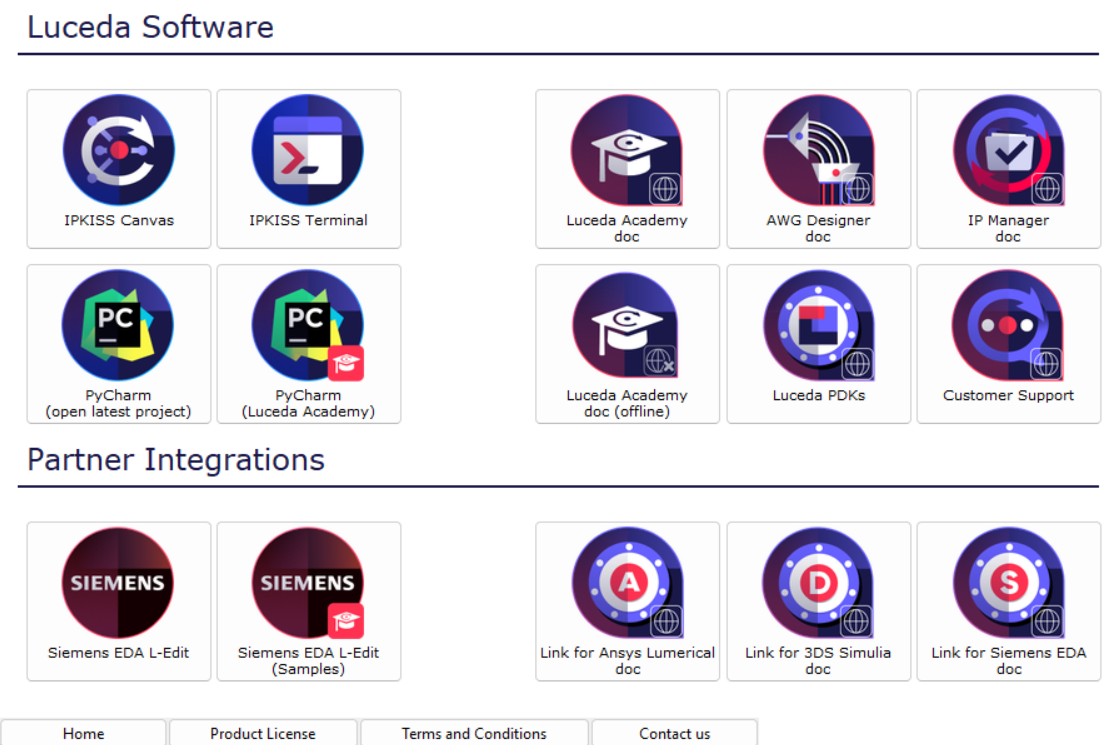
Luceda Control Center allows you to manage your installation and get access to useful resources.
Installing your license
You can activate your license by clicking on Add License in the Product License tab of the Luceda Control Center and selecting your license file.
You can also put the license file in the /home/username/miniconda/envs/ipkiss_3112 manually.
More information about licenses can be found in the License types section.
If you have a floating license, please follow these instructions: Configuring a floating license.
Get started
You are now ready to start diving into our software, a good starting point is Circuit layout.
The following contents can also further help you getting started with IPKISS.
After executing setup-samples on the command line, Luceda Academy will be available in your home folder in ~/luceda/luceda_academy/luceda_3112.
You can also click on PyCharm (Luceda Academy) in the Luceda Control Center to open the Luceda Academy project.
To open the Luceda Academy documentation platform, click on the link in the Luceda Control Center or activate the environment and run luceda-doc:
source activate ipkiss3
luceda-doc
This will start a daemon, hosting the documentation through a web server. It will launch the default browser to show the documentation.
- From here on out, you can dive in the code:
The tutorials contain step by step instructions to create various examples.
The sample gallery is a collection of in depth examples.
The application examples provides demonstrations of complete photonic integrated circuits.
If you want to start your own project, you will have to configure your Python IDE (Integrated Development Environment).
Configuring your IDE
When you configure your IDE to work with conda, you’ll need to make sure that the correct python executable is used. The setup is very similar to the setup on windows.